The time has finally come to install some parts on the 993!
First up is the well known and well received Fister Stage III exhaust by Darin at FD Motorsports. When I first contacted Darin, he said that they normally do core exchanges but since they have been so busy, my only options were to wait or send in my stock ones. So before I left to NYC for 2 weeks, I packed everything up and shipped it to Norcal.
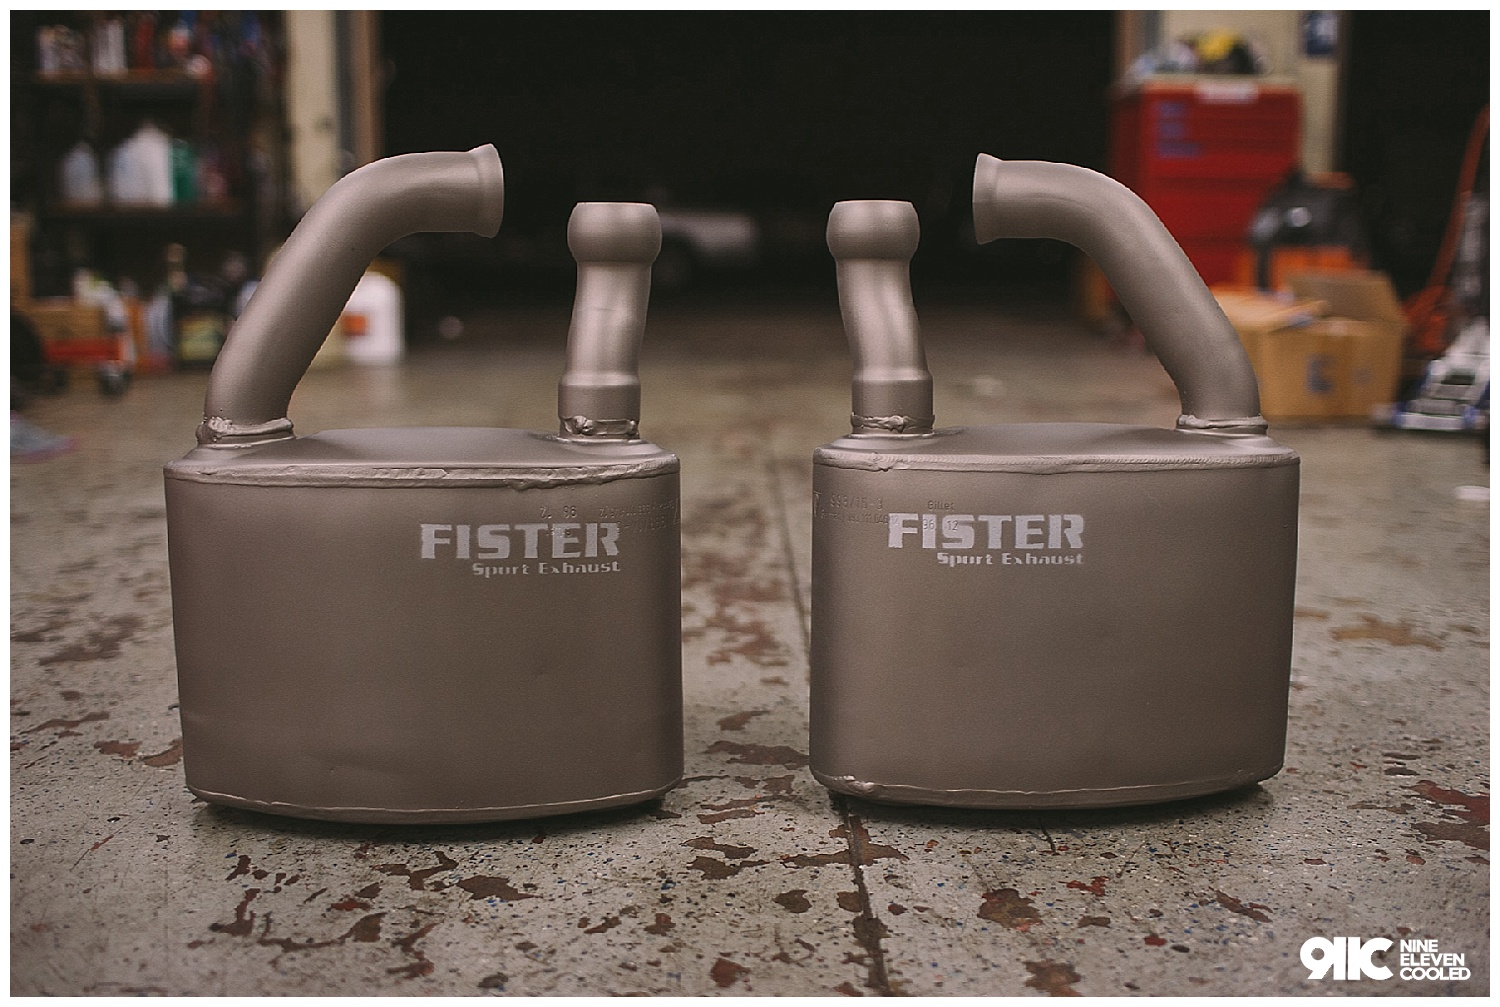
Originally I was not gonna do any of the Ceramic Coating but after seeing the condition of the exhaust, I decided to pay the extra few hundred and get the Titanium Coating done. I am so happy I did it because it came back looking brand new. These Fister III from http://www.fdmotorsports.com are the best bargain out for the 993… get it done!s
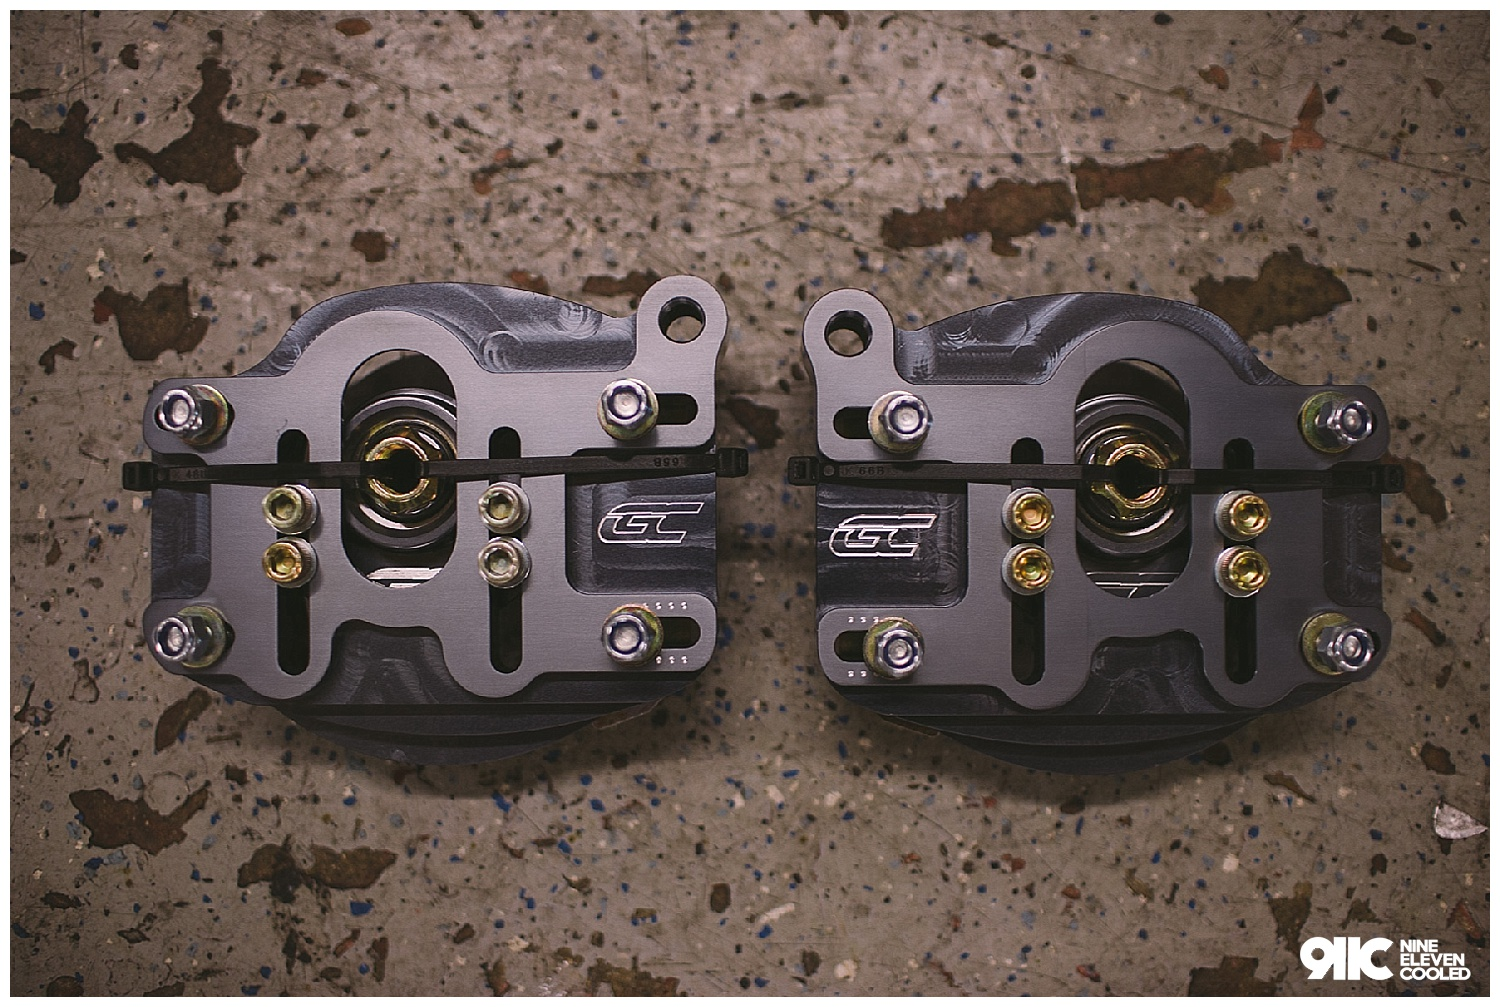
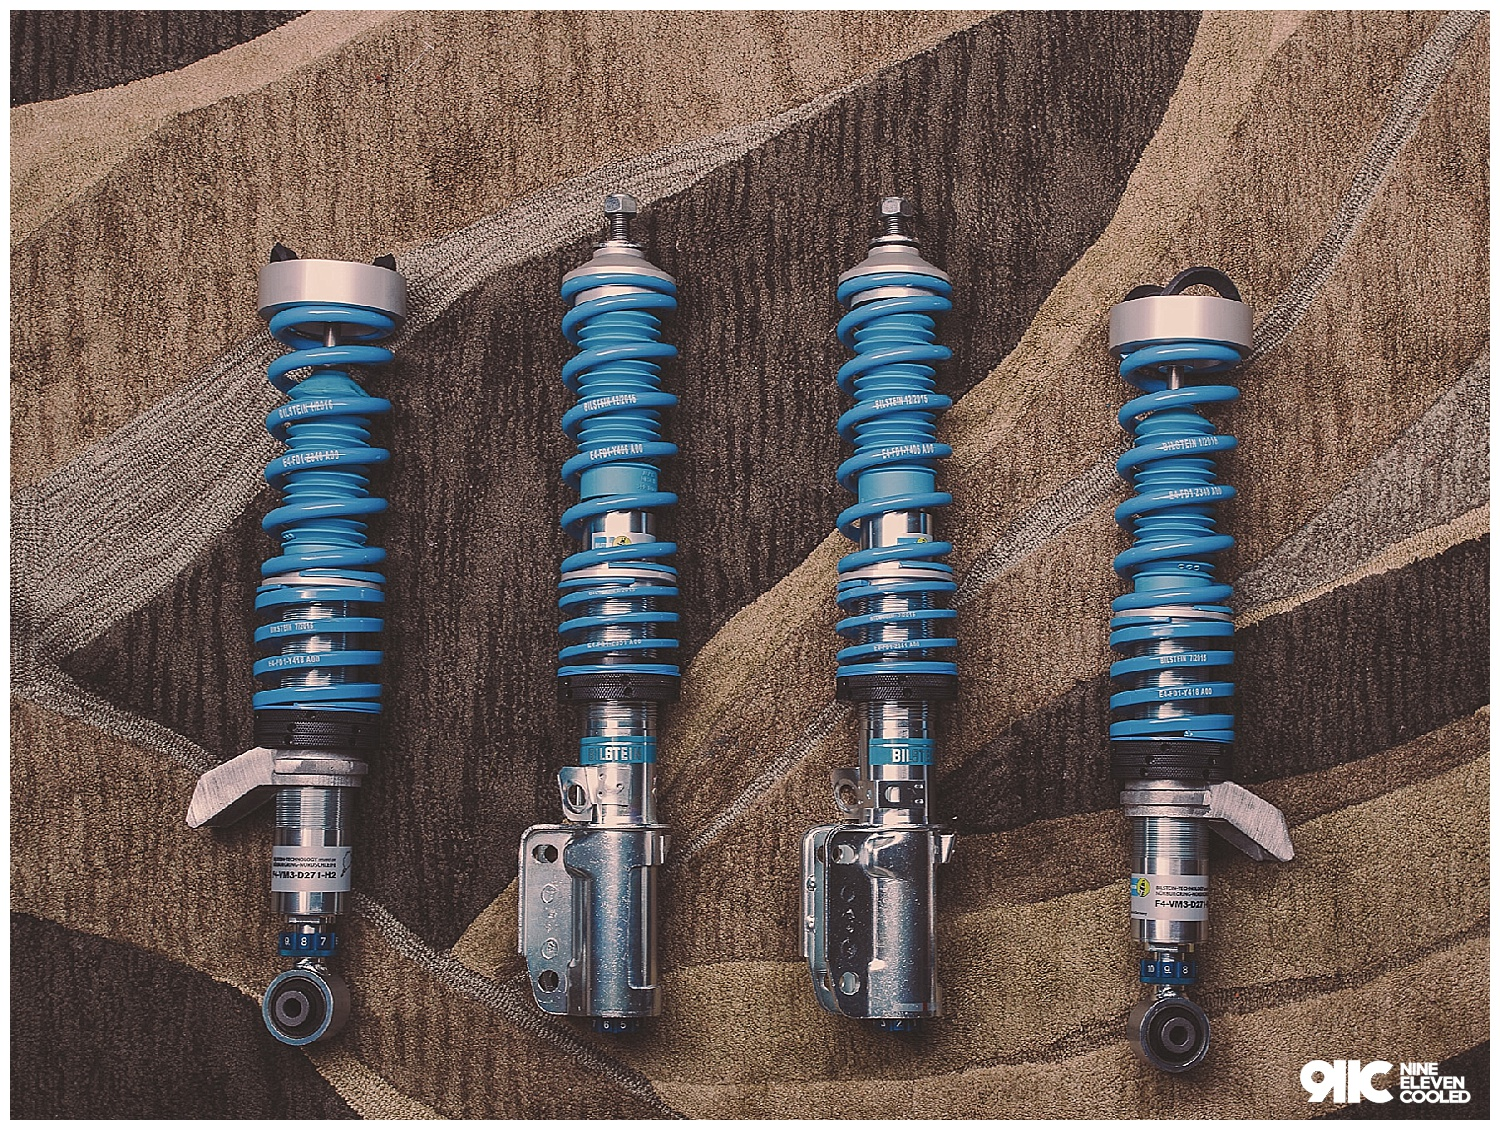
So I ordered my Bilstein PSS10’s about 6 months ago from Evasive Motorsports where my good buddy Randy works at. These puppies are expensive but everyone talks so highly of them and apparently they can sit quite low. So I pulled the trigger on them. A few months later, my buddy Teddy recommend that I get camber plates also. For an additional 20%, you can get camber plates that give you want more adjustment to your alignment. I didn’t want to spend on this at this moment but I didnt want to deal with more labor costs down the line. I opted for the Ground Control Camber Plates. These units have adjustments for camber, toe and even caster. The build quality on these are very nice. Thanks Randy!
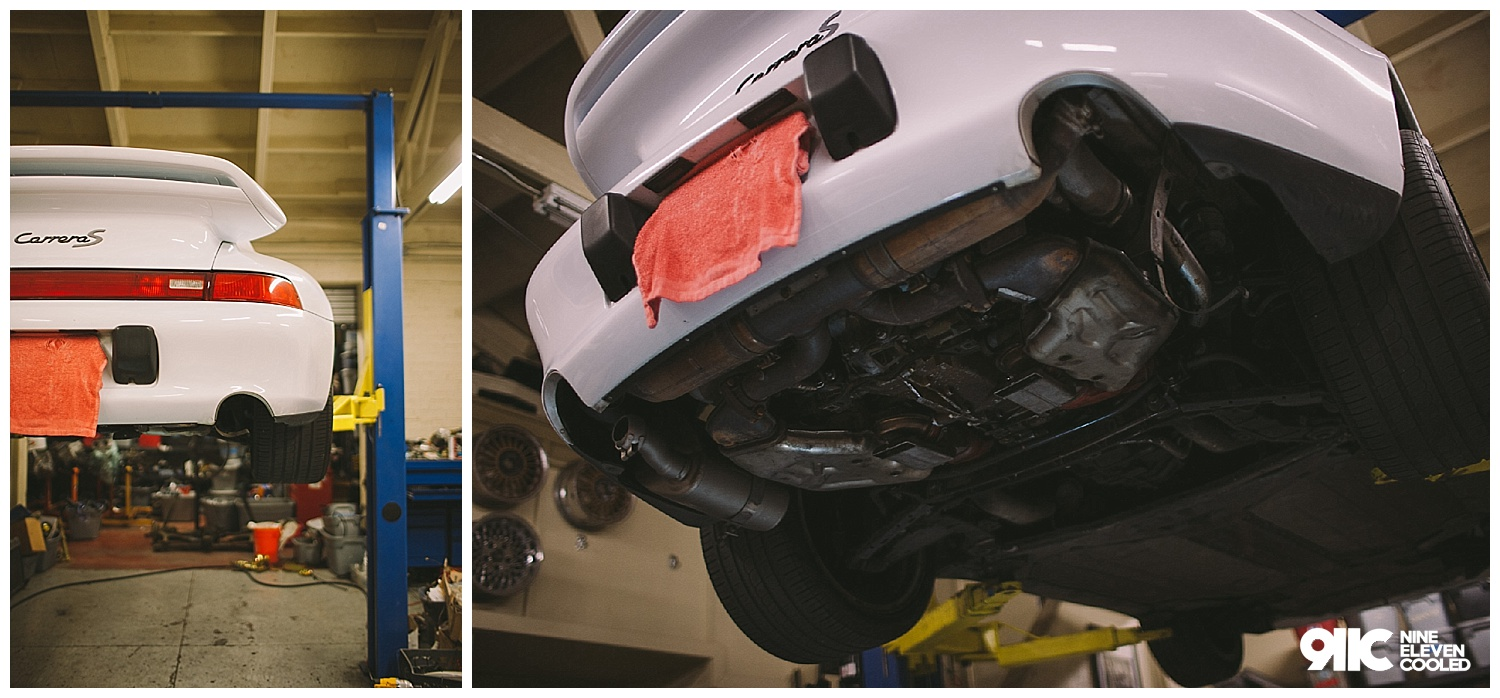
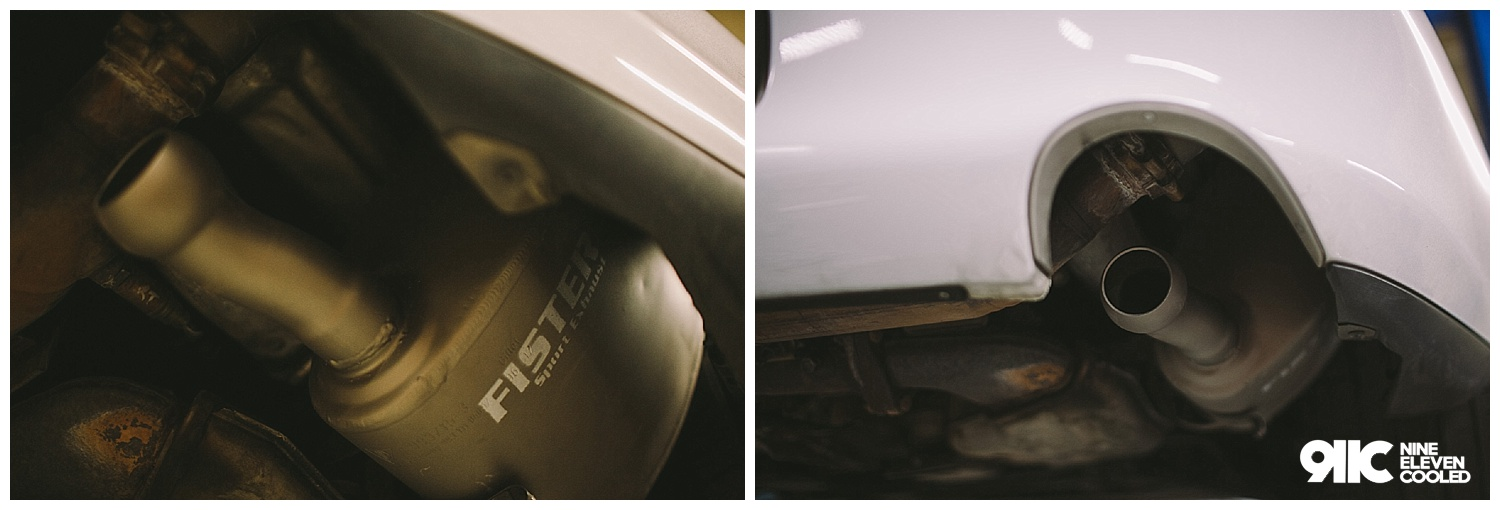
My 993 sat at 2002 Garage Werks for 3 weeks while I was away on vacation and when I got back, Le was kind enough to let me use his garage to install my new cans. The exhaust install is pretty straight forward. Each one of the cans has a clip on the rear to hang on part of the frame. I didn’t realize this until later so I struggled with trying to get the exhaust on with the clamps. Be smart folks, do the right thing and don’t follow my inexperience. Of course the oval tips I ordered from Fabspeed had not arrived at the time we were installing. so we have a photo of a round pipe. Yay!
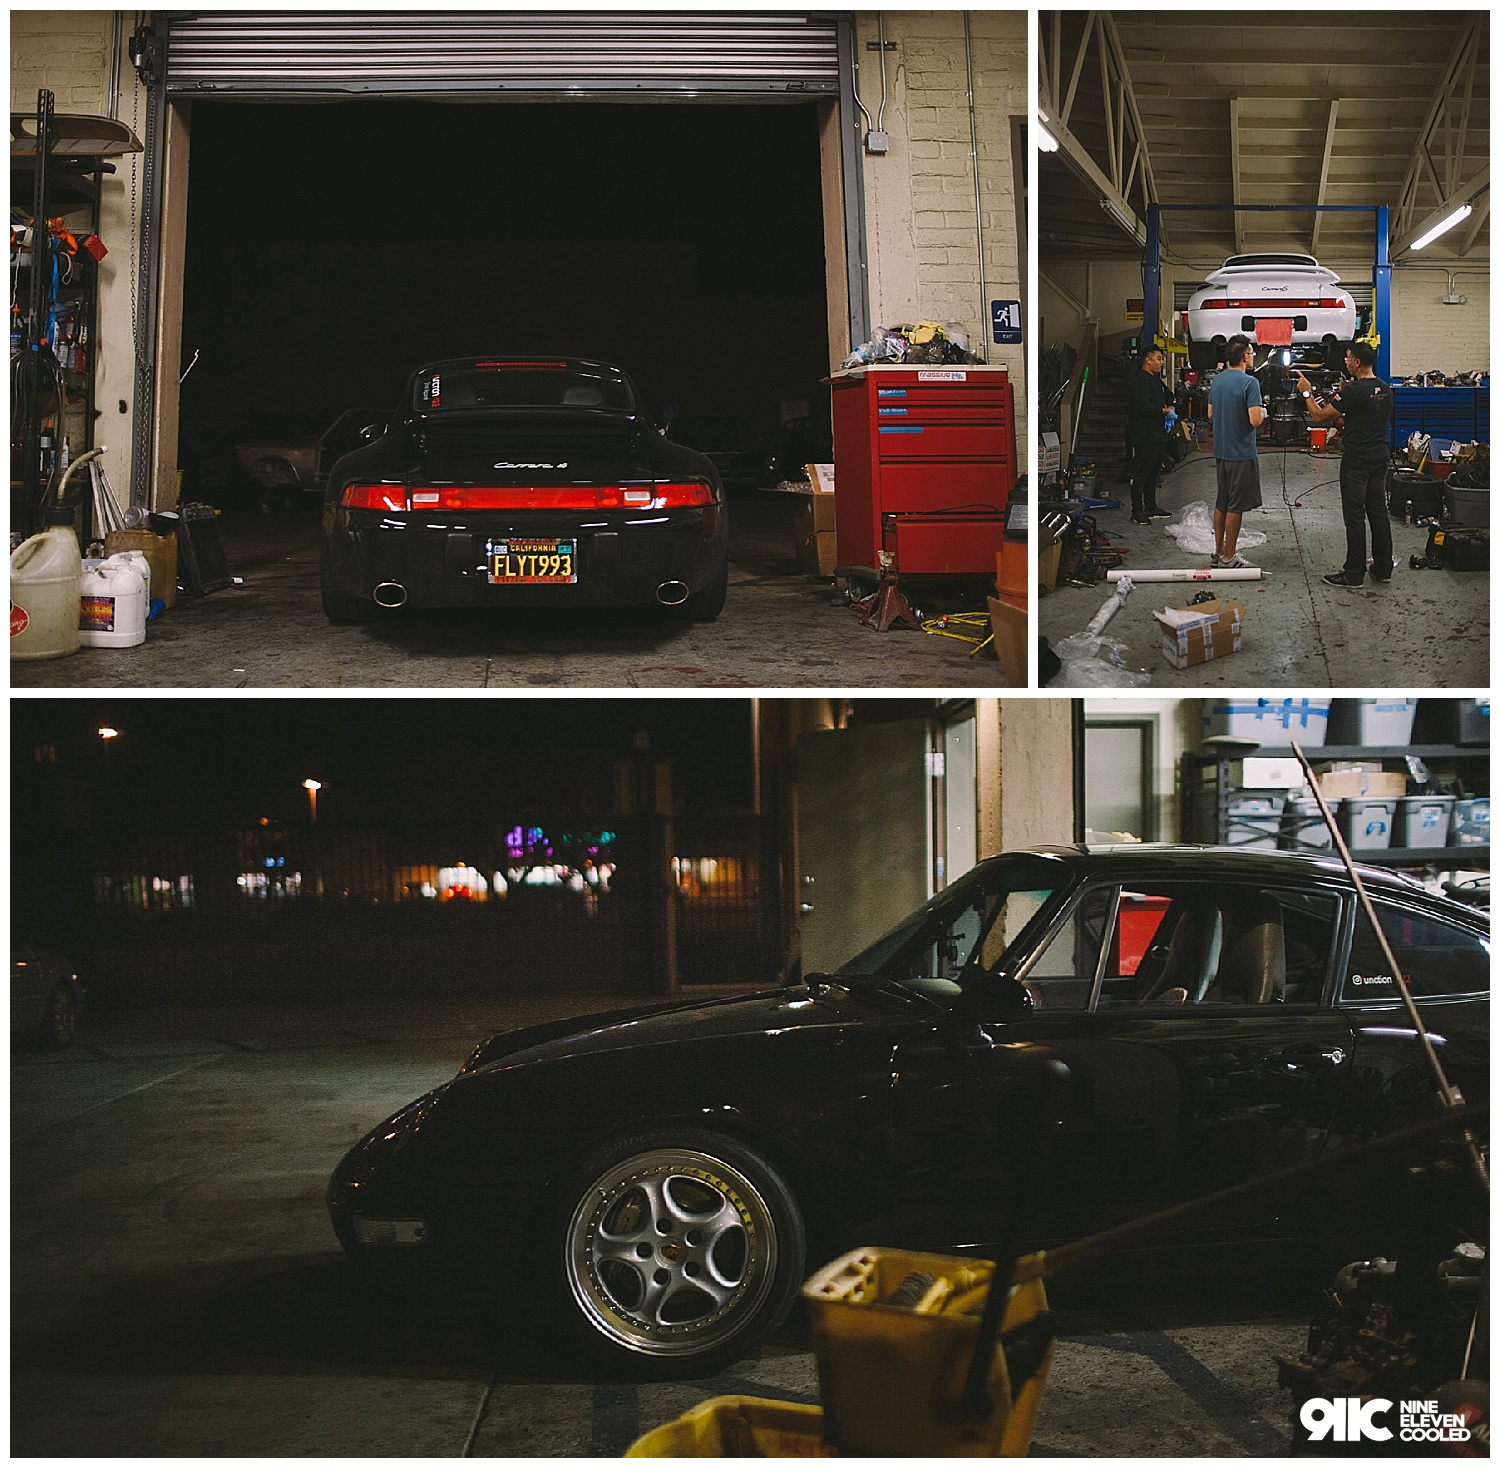
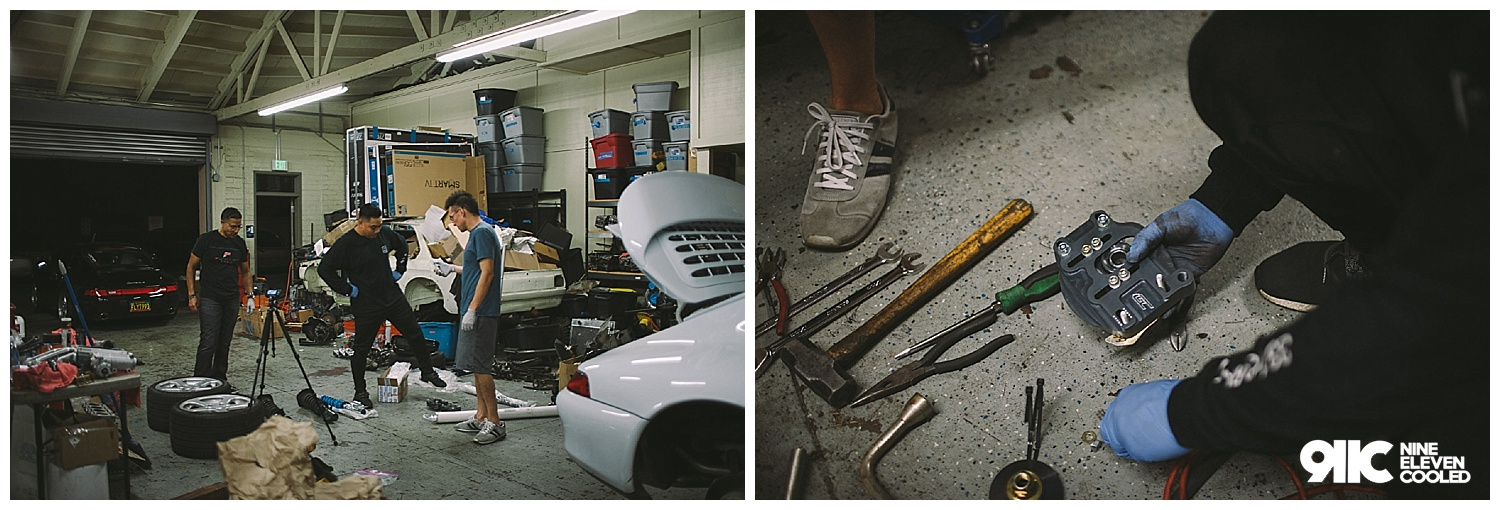
So all of this was the idea of my 964 boys Jason (j_mendieta) and Teddy (@formularx) to do the install before the upcoming PECLA 1 year anniversary in Carson, CA. With tools, a lift and an eager group of buddies, we headed straight into the night.
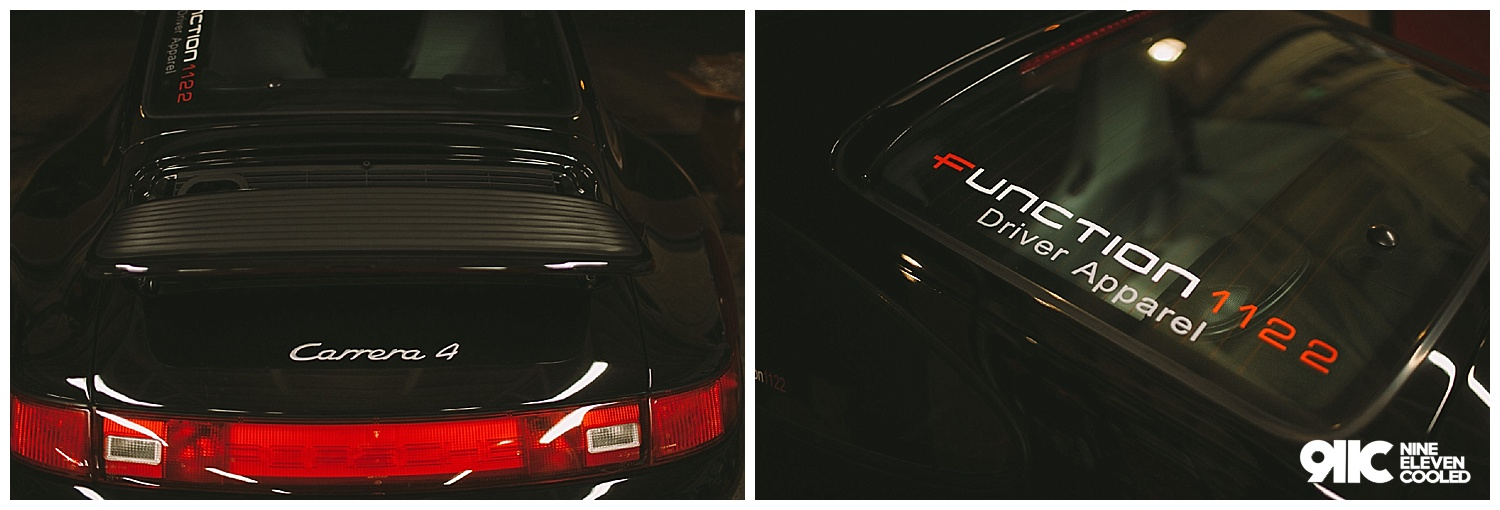
Later we were greeted by our other good buddy Dan (@anino1122/@function1122) who owns a very clean 993 Carrera 4. He has gotten a lot of work done to it lately but I will save that for a future blog. So stay tuned on that.
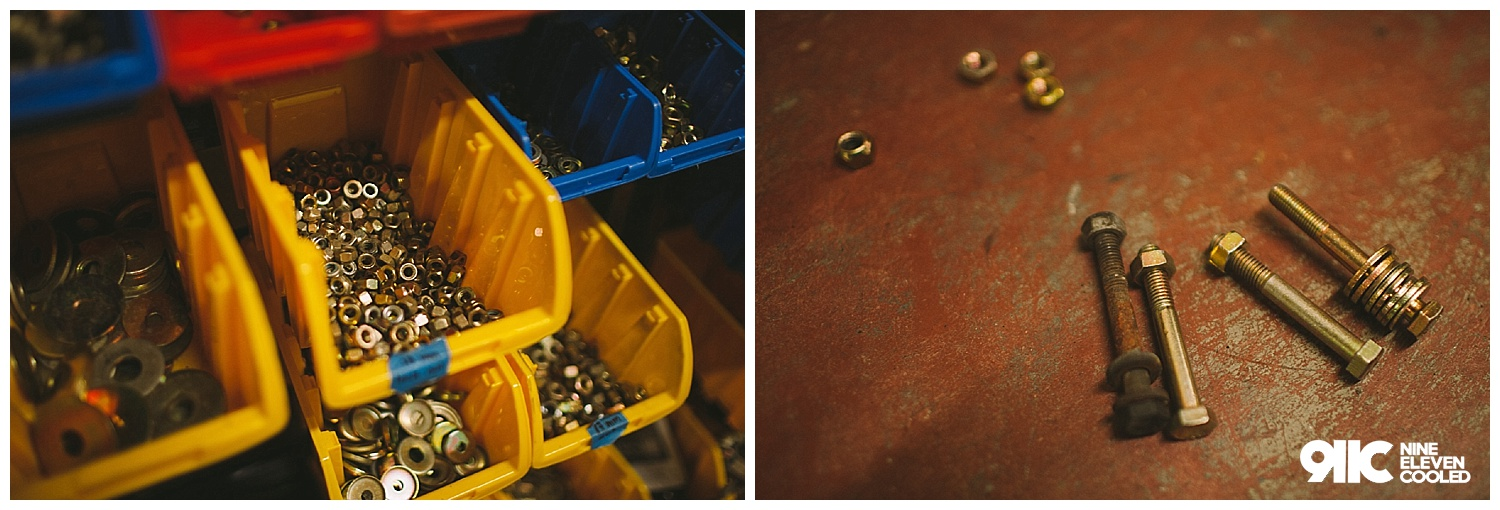
20+ years of hardware that have rusted through needed to be replaced with anti corrosive hardware. Thanks to Le’s supply of zinc hardware, my new project will have much cleaner bling to bring her right up to speed.

Now documenting and installing parts are both full time jobs but when you are a one man unit, you have to balance it all. Luckily, with all of the extra hands, I was able to do a bit of both and get you guys the content you are reading now. How convenient… lol jk… I love you guys, thanks for even reading this far.
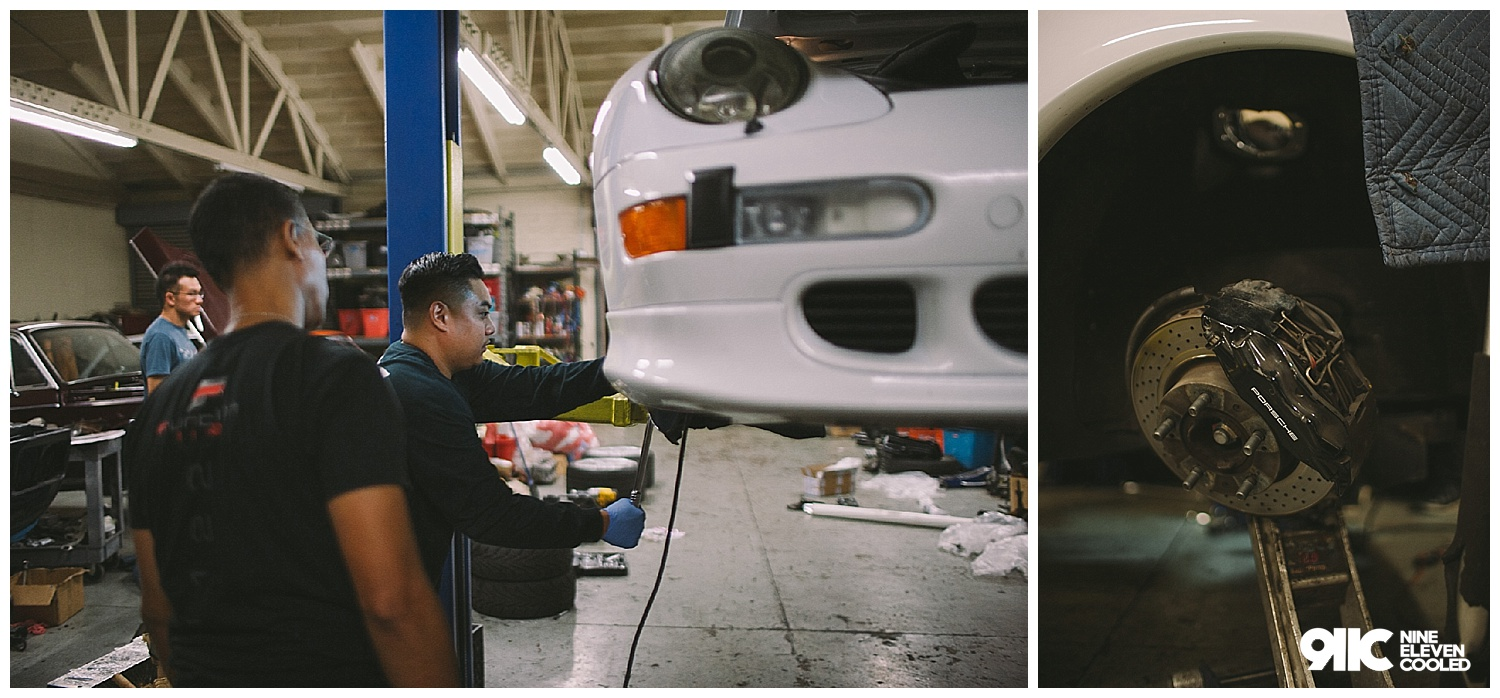
The fronts were fairly easy. The hardest part was probably cutting the Monroe Struts to remove the brake line. Then the rest was trying to figure out the camber plates but it seemed pretty self explanatory. One tip though guys, We were trying to use the impact gun to torque down the nut while the camber plate was still on the top hat. When Le got to the shop, he suggested we put on the top hat before we put on the camber plates. He literally saved us 90 mins and a total of aggravation. Got to learn from the experienced guys.
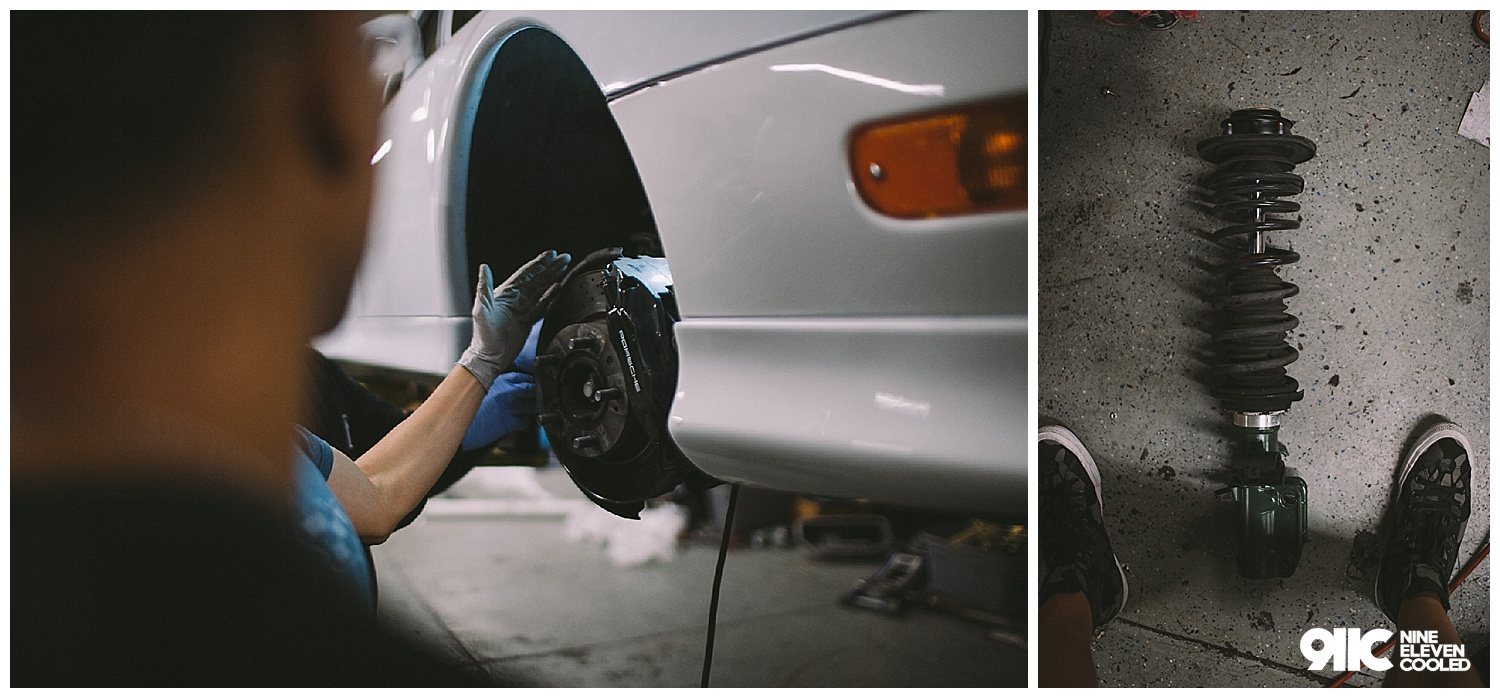
She is finally out… that big, green and heavy strut that sits in front of the fender was replaced by an aftermarket Bilstein that was almost as heavy. Life is hard. So much work!
One of the things that really caught me off guard is how heavy RUF wheels are. I mean I heard that they were heavy but until I picked one up, I had no clue. These things are terrible for racings… must only be used for street driving for looks, cause they are pretty sexy.
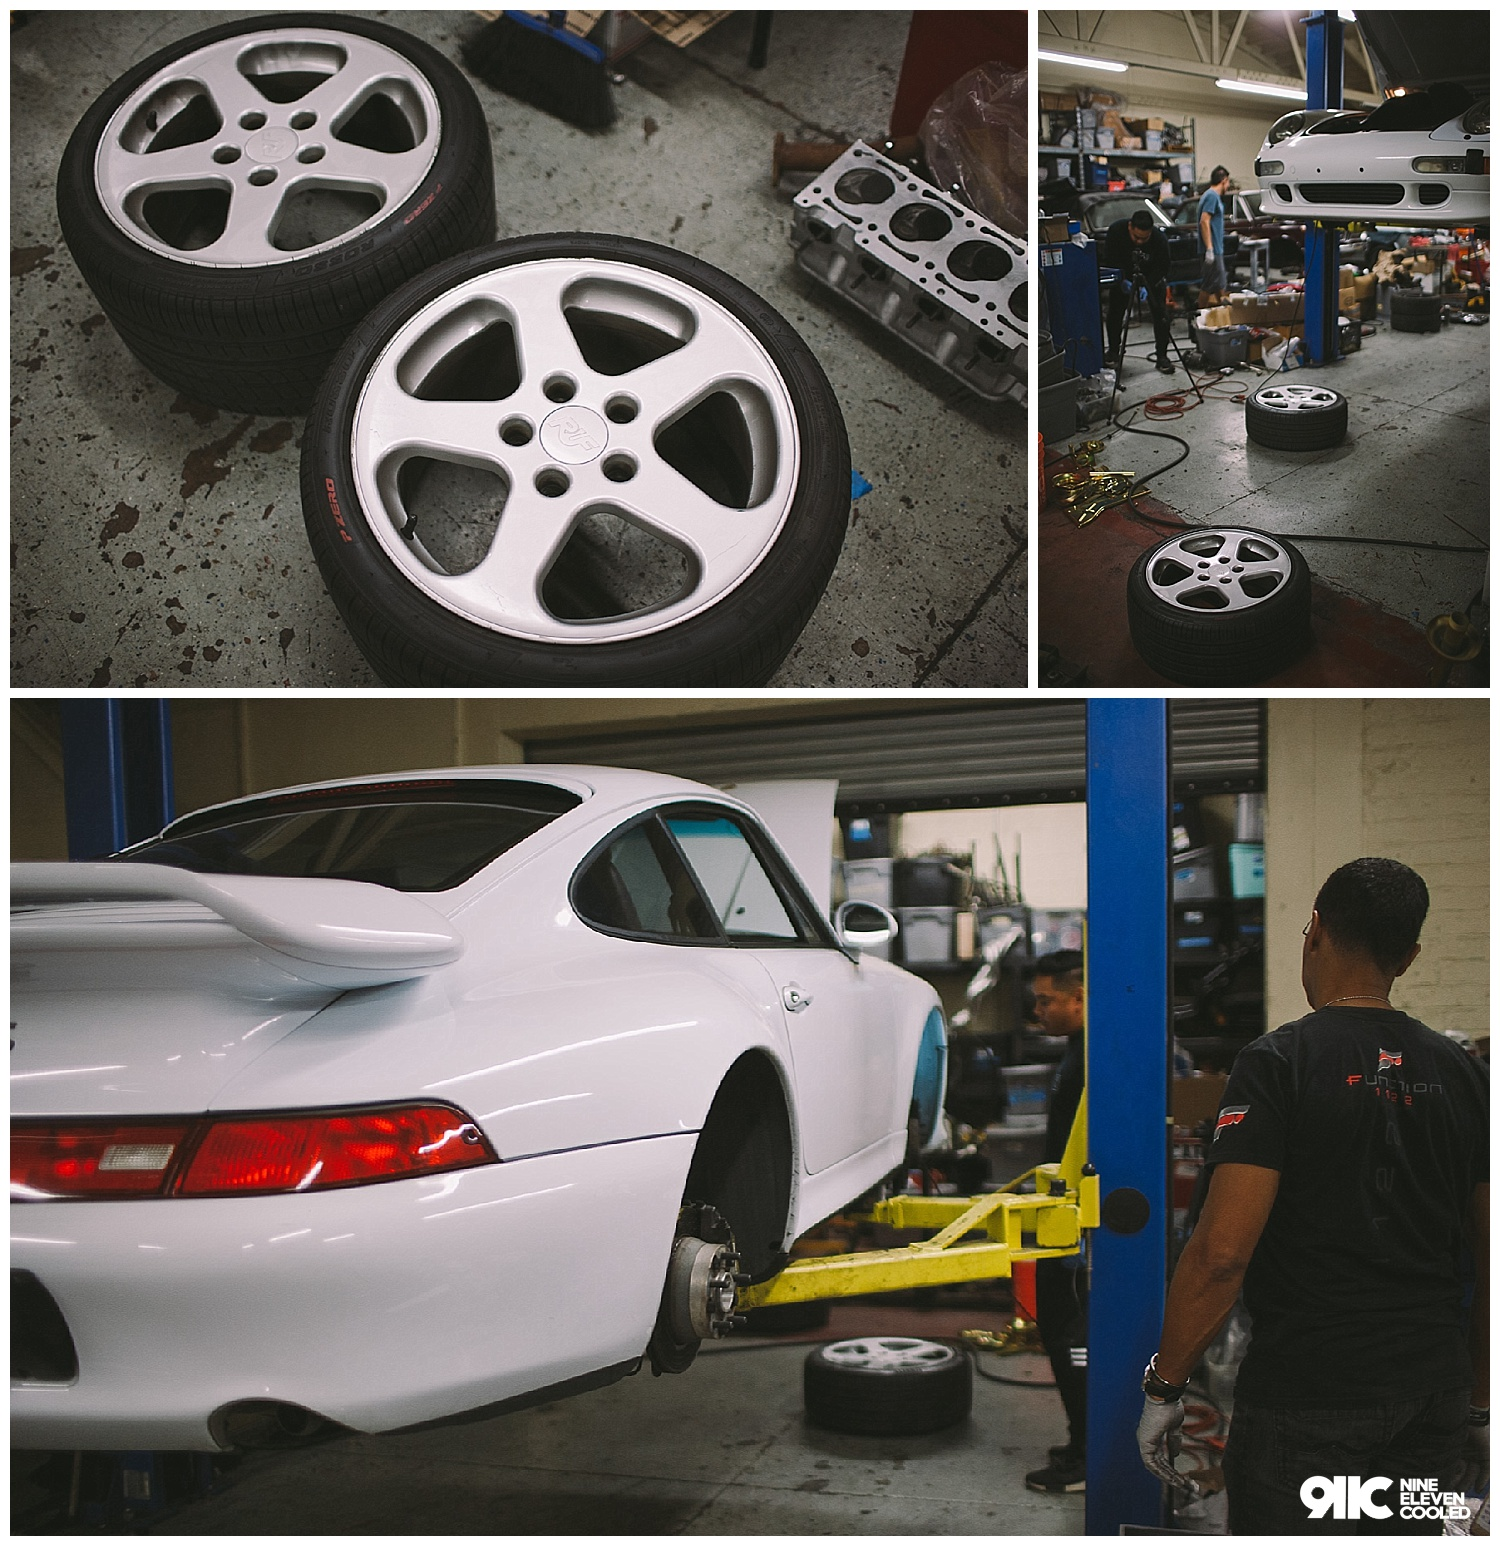
The installation took some time as we were finding out that lowering a 964 vs 993 were much different. One of the most annoying parts was trying to remove the the bolt on the bottom of the strut but we were cock blocked by the lower control arm who’s bolt was blocked by the heat exchangers on the driver side. Sound complicated? Yup, sure was. We ended up removing the subframe and then we were finally able to get where we needed to be.
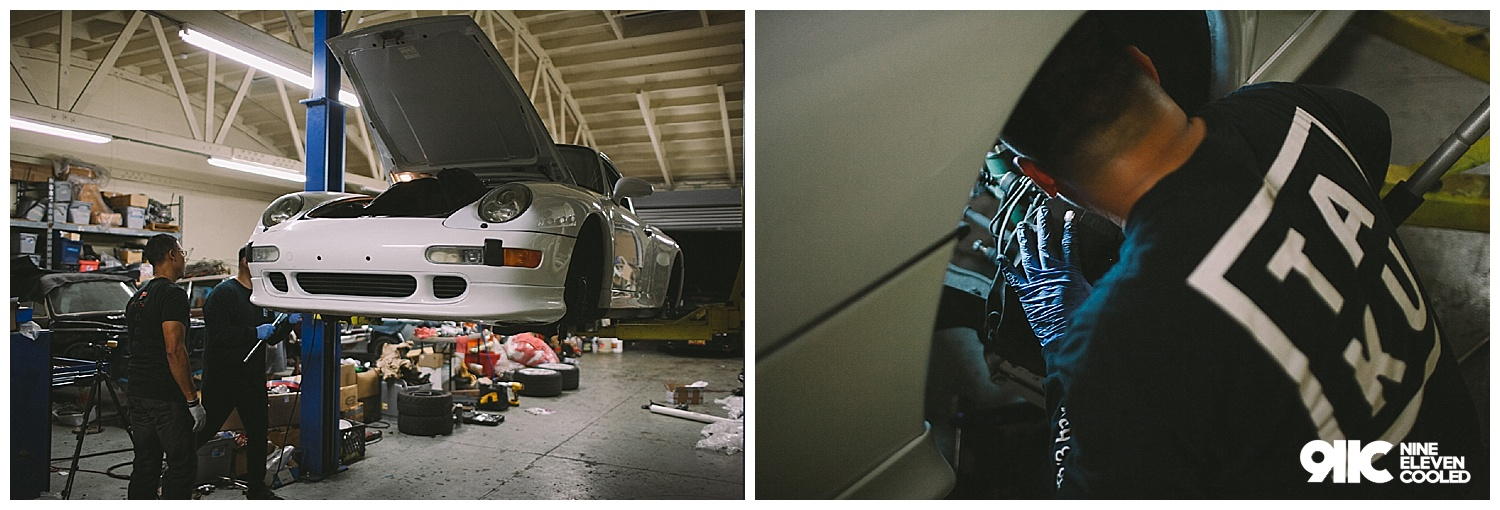
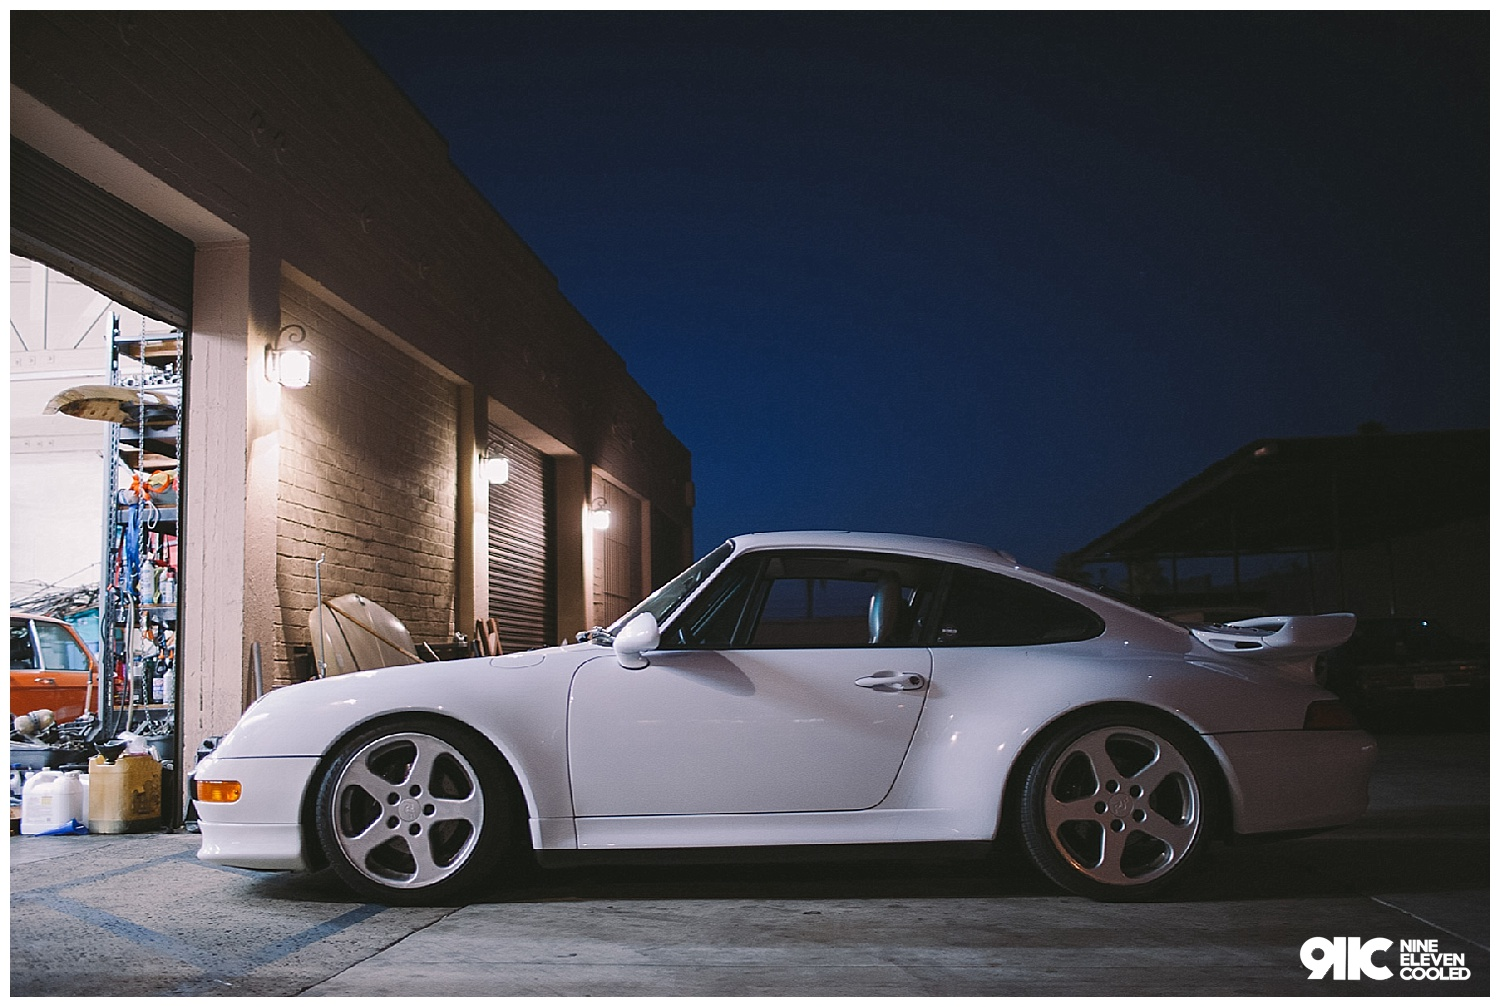
Anyways, by the time we ended, it was close to 6am and the midnight sun was fading away as the morning light made his way in but once we got her outside, Trinity looked like a brand new girl to me…. new sounds and new drop made me say, oh damn!
There is still many more things to do on this car but for this round, this is just about it. The oval tips get here in a few days and I will add photos to this blog once I do that.
Big thanks to Jason, Teddy, Dan and of course Le in helping me get Trinity to where she is at now. You guys are the real MVP.
Stay tuned for the rest of the upgrades in upcoming blogs.
Drew
Comments?
Leave us your opinion.